
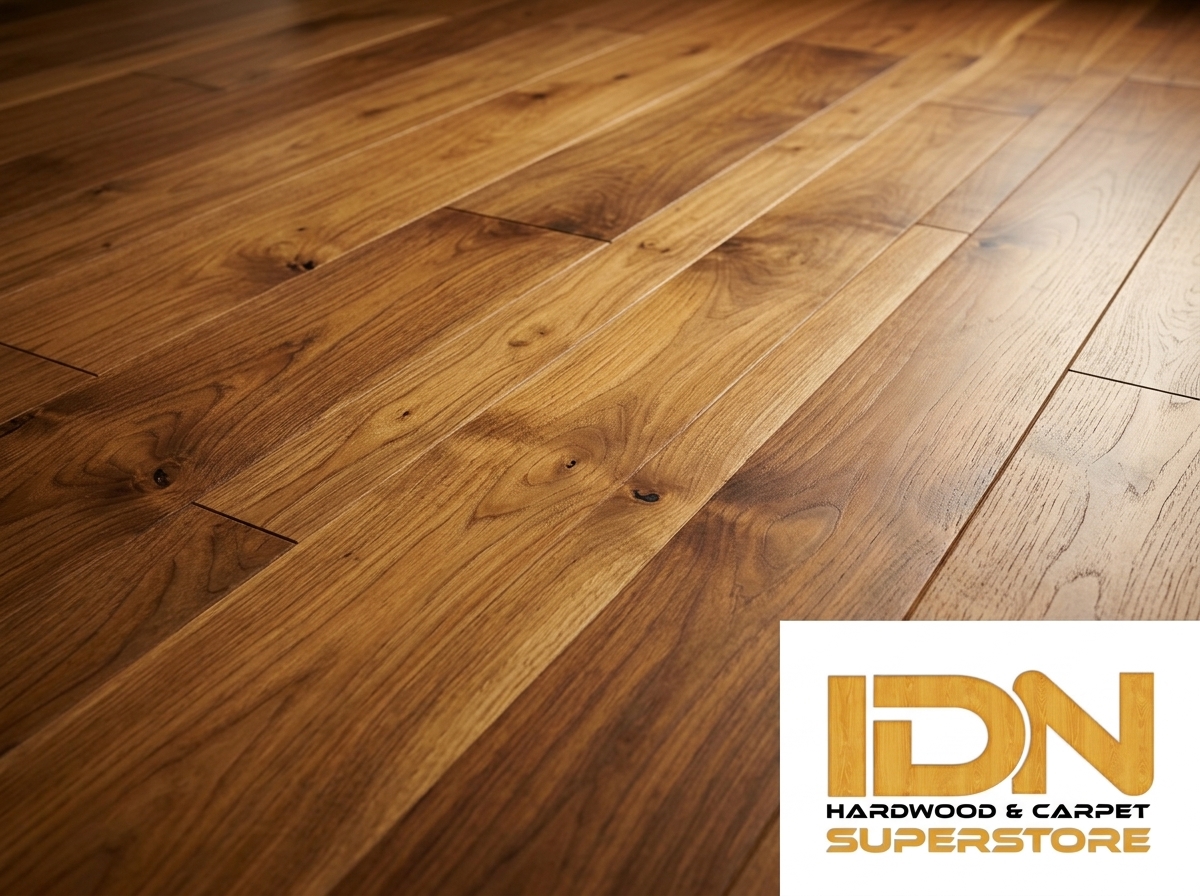
I’ve walked into a lot of homes over the years where a previous hardwood floor installation went wrong — not because the wood was bad, but because a step got skipped. When it’s done right, hardwood floor installation is methodical, not rushed. Here’s the exact process we follow with homeowners throughout Woodland Hills and the rest of the San Fernando Valley.
Step 1: In-Home Consultation and Material Selection
Every hardwood floor installation we complete starts the same way: understanding the home, not just the room. Sunlight exposure, foot traffic, and even nearby pets all influence which wood species and finish will hold up best over time.
Step 2: Measuring and Ordering Materials
Precise measurements prevent two of the most common installation headaches: running short on material mid-project, or over-ordering and paying for waste. We always measure with a small buffer to account for cuts around corners, doorways, and stairs.
Step 3: Wood Acclimation
This step gets skipped more than any other, and it’s usually the reason floors cup or gap months later. Solid hardwood needs time to adjust to your home’s humidity and temperature before it’s ever nailed or glued down. Skipping acclimation to save a day or two almost always costs more in repairs later.
Step 4: Subfloor Inspection and Moisture Testing
Before any hardwood floor installation begins, we test the subfloor for moisture and check for unevenness. The EPA notes that excess moisture is one of the leading causes of flooring and structural damage in homes, which is exactly why this step isn’t optional for us.
Step 5: Removing Old Flooring
If your home currently has carpet, tile, or aging laminate flooring, it needs to come out cleanly before new hardwood goes down. We haul away and dispose of the old material so you don’t have to deal with it.
Step 6: The Hardwood Floor Installation Itself
This is where precision matters most — board spacing, expansion gaps along the walls, and consistent nailing or fastening patterns all affect how the floor performs for years, not just how it looks on day one. We work room by room, checking alignment continuously rather than at the end.
Step 7: Final Finish and Walkthrough
Once the hardwood floor installation is complete, we walk the space with you, point out care instructions, and make sure every transition and threshold looks and feels right underfoot. A good installation should feel seamless, not just structurally sound.
Frequently Asked Questions
How long does a hardwood floor installation take?
Most residential rooms take a few days from acclimation through final finish, though larger homes or multiple rooms take longer.
Can hardwood floor installation happen over an existing subfloor?
In many cases, yes — but it depends on the condition and moisture levels of the existing subfloor, which we always test first.
Is solid hardwood or engineered hardwood better for installation?
It depends on your home. Engineered hardwood tends to handle humidity changes better, which we discuss during your engineered hardwood consultation if it’s a better fit.
Do I need to leave my home during installation?
Not usually. Most homeowners stay in the house, though we recommend keeping pets and foot traffic away from the work area until it’s finished.
Ready for a Hardwood Floor Installation Done Right?
If you’re in Woodland Hills, Winnetka, or anywhere nearby in the San Fernando Valley, we’d be glad to walk you through the process in person. Request a free consultation, or visit our Canoga Park showroom on Google Maps to see samples and talk through your project.
READ MORE: