Do you really need concrete moisture testing before vinyl flooring goes down in Canoga Park? Yes. Waterproof vinyl stops water from above, not vapor rising from below. Across Canoga Park and the wider San Fernando Valley, most homes sit on slabs, so the concrete under your feet decides how well a new floor holds up. Here are the seven steps that matter.
1. Start by asking what “waterproof” actually covers
Waterproof vinyl plank is built so spills, pet accidents, and mopping water won’t swell the core. That’s a real advantage over laminate and wood in kitchens and baths. It doesn’t make the slab irrelevant. Concrete is porous and can push moisture vapor upward for years. When that vapor gets trapped under a plank floor, it can feed odors, weaken adhesives on glue-down products, and stress the locking joints on click systems. Most manufacturers spell out moisture limits in their installation instructions, and staying inside those limits is often tied to warranty coverage. So the first step isn’t picking a color. It’s confirming the floor you love is rated for the slab you have. Testing tells you that. Guessing doesn’t.
2. Know the Canoga Park slab you’re working with
This is where local knowledge earns its keep. Much of Canoga Park’s housing went up during the postwar building boom, so you’ll find plenty of ranch homes on slab-on-grade foundations that have been settling for decades. Many were built before vapor barriers under slabs were routine practice, which means some older slabs have little protection against ground moisture. Newer condos and townhomes in the area may have a barrier, but you can’t confirm that by looking. The West Valley’s long, dry, hot season can make a slab feel bone-dry on the surface while the interior still holds moisture. Irrigated lawns, planters against the foundation, and the occasional heavy winter storm all play a part too. Older slabs also tend to carry hairline cracks and tack strip holes from carpet removal, which become part of the prep list.
3. Pull up old flooring before any test
A reading taken through carpet pad or old tile is close to meaningless. The existing covering has to come off, and the concrete needs time exposed to normal room conditions before anyone tests it. Removal often reveals what a slab has been hiding: old mastic, paint, patched cracks, efflorescence (that white, chalky residue left when water carries salts to the surface), or dark stains near exterior walls. Each of those tells a story. Efflorescence and staining in particular hint that moisture has been moving through the slab. Old adhesive residue may need to be scraped or ground so new materials can bond and the surface reads accurately. Keep your HVAC running at its usual settings during this period. Testing should reflect how the home actually lives.
4. Use the right concrete moisture test, not a guess
There are a few accepted ways to check a slab, and the right one depends on the product and its manufacturer’s instructions. The in-situ relative humidity method (ASTM F2170) places probes into small holes drilled into the slab and measures humidity inside the concrete. The calcium chloride test (ASTM F1869) measures how much vapor the surface releases over a set period. A simple plastic sheet taped to the floor overnight can flag an obvious problem, but it isn’t a substitute for a proper test. Handheld meters are useful for spotting wet zones quickly. They aren’t the final word. Testing several spots matters, especially near exterior walls, bathrooms, kitchens, and anywhere irrigation sits close to the house. One dry corner says little about the whole slab.
5. Match the moisture solution to the reading
Results drive the plan. If readings fall inside the manufacturer’s limits, the job may only need a standard underlayment with a built-in vapor barrier on a floating click floor. If readings run higher, options can include a separate polyethylene vapor barrier, a moisture-mitigating primer or sealer, or choosing a product with a more forgiving moisture rating. Glue-down vinyl usually has stricter requirements than floating plank because the adhesive itself is sensitive to vapor. Sometimes the honest answer is that the source needs attention first, like regrading soil or redirecting a sprinkler head that soaks the foundation. That’s a homeowner or landscaping task, not a flooring fix. You can see how this fits the full project in our guide to waterproof vinyl installation across the Valley.
6. Level and repair the slab so planks lock properly
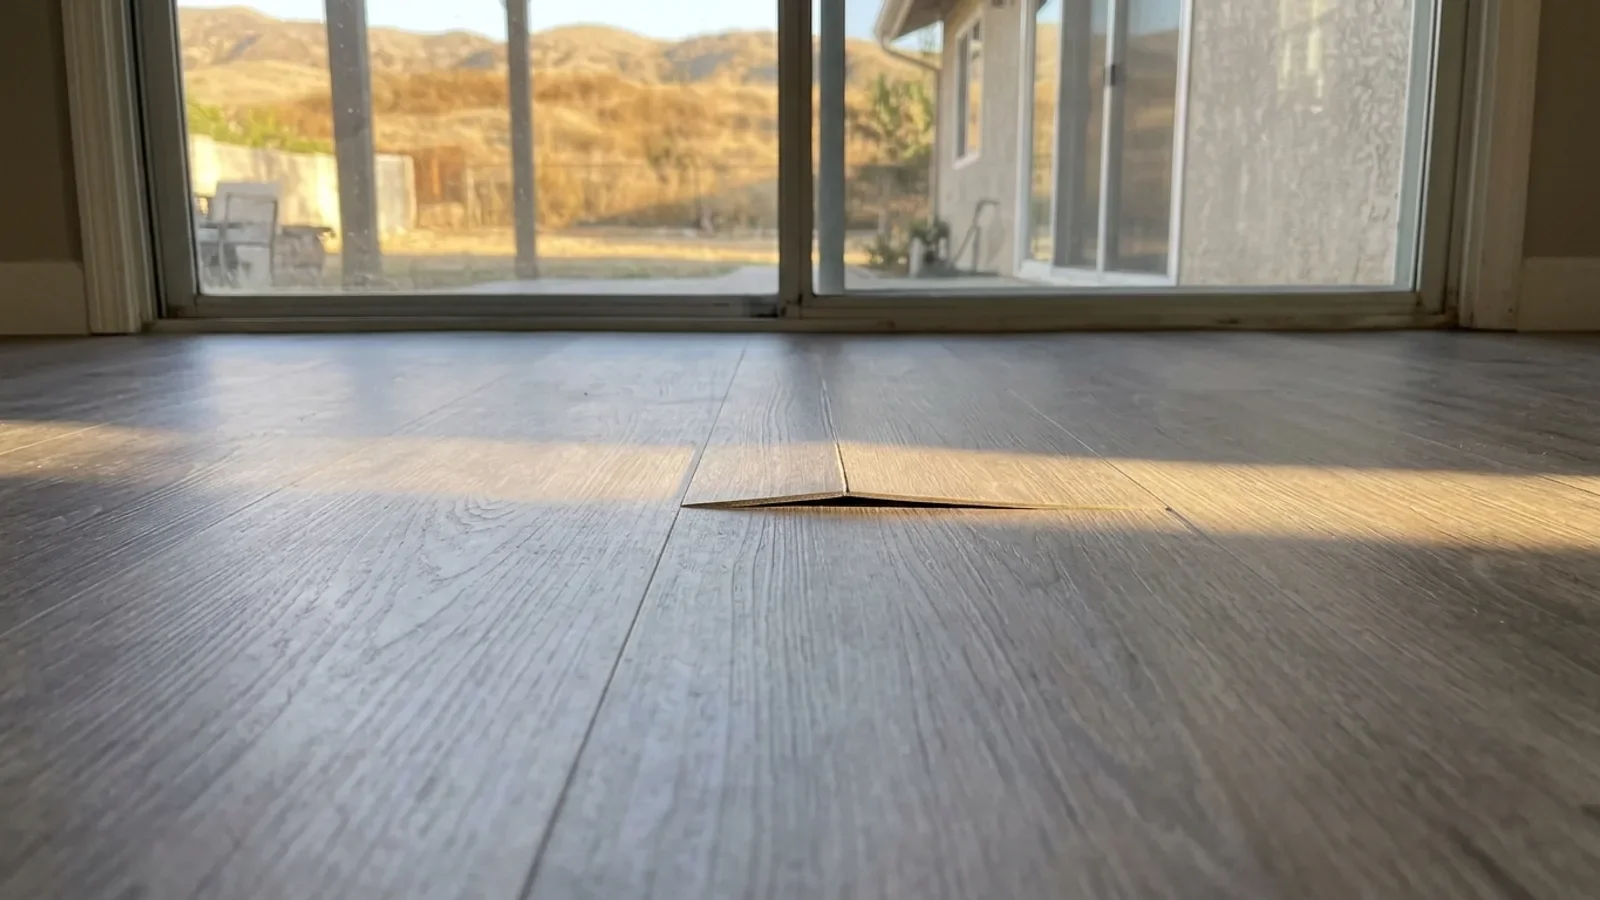
Moisture is only half of slab prep. Flatness is the other half. Click-lock vinyl needs a flat surface, and most manufacturers specify how much variation is allowed over a given span. Dips make planks flex underfoot, which can loosen joints, create hollow spots, and lead to separation over time. High spots act like pivot points. Prep typically means grinding ridges, filling cracks and tack strip holes, and pouring self-leveling compound in low areas. Ranch homes that have settled often have a gentle slope toward one side, so a straightedge check across each room is worth the time. Thin, rigid-core planks are a bit more forgiving than flexible vinyl, but they don’t erase a bad slab. Good leveling is invisible once the floor is down. Bad leveling shows up in months.
7. Acclimate, then install with heat and expansion in mind
Once the slab is tested, treated, and level, the flooring itself should sit in the home under normal conditions per the manufacturer’s instructions before installation. Canoga Park sees some of the hottest summer days in Los Angeles County, and even in a mild late-fall stretch, sun through a south- or west-facing slider can heat planks noticeably. Leaving the right expansion gap at walls and using proper transitions at doorways gives the floor room to move. Product quality matters here too, and we cover why in how Valley heat affects lower-grade vinyl. When you’re ready to choose material and plan the work, explore our vinyl flooring options and installation support at the Canoga Park showroom.
Frequently Asked Questions
Can I skip moisture testing if my slab looks dry?
It’s not a good idea. A slab can feel dry on top while still releasing vapor from inside, especially in older Canoga Park homes built without an under-slab barrier, and many manufacturers expect testing to keep warranty coverage intact.
Is a vapor barrier underlayment enough on its own?
Sometimes. For floating vinyl over a slab with readings inside the manufacturer’s limits, an underlayment with a built-in barrier is often sufficient, but higher readings may call for a sealer or a different product.
How do I pick an installer who handles slab prep well?
Ask how they test moisture, which method they use, and how they level the floor before installing. Our article on what to ask a Valley vinyl installer walks through more questions.
The bottom line
A vinyl floor is only as steady as the concrete under it. Test the slab, fix what the readings show, level it, then install. If you’re weighing options for a Canoga Park home, stop by our showroom and we’ll help you plan a vinyl floor installation built around your slab.