Waterproof vinyl rarely fails all at once. It fades by the patio door, picks up a haze from the wrong cleaner, and collects fine scratches from grit nobody noticed tracking in. In the San Fernando Valley, those slow problems move faster. Strong sun, dry heat and dusty Santa Ana days all work on a floor every single day.
This guide is for homeowners from Canoga Park to Northridge, Reseda to Woodland Hills who already have luxury vinyl plank or tile down and want it to look right for years. If you care for waterproof vinyl floors in the San Fernando Valley with a simple routine, you’ll avoid most of the issues we see when people call us about a floor that “used to look better.” None of it is complicated. It just has to be consistent.
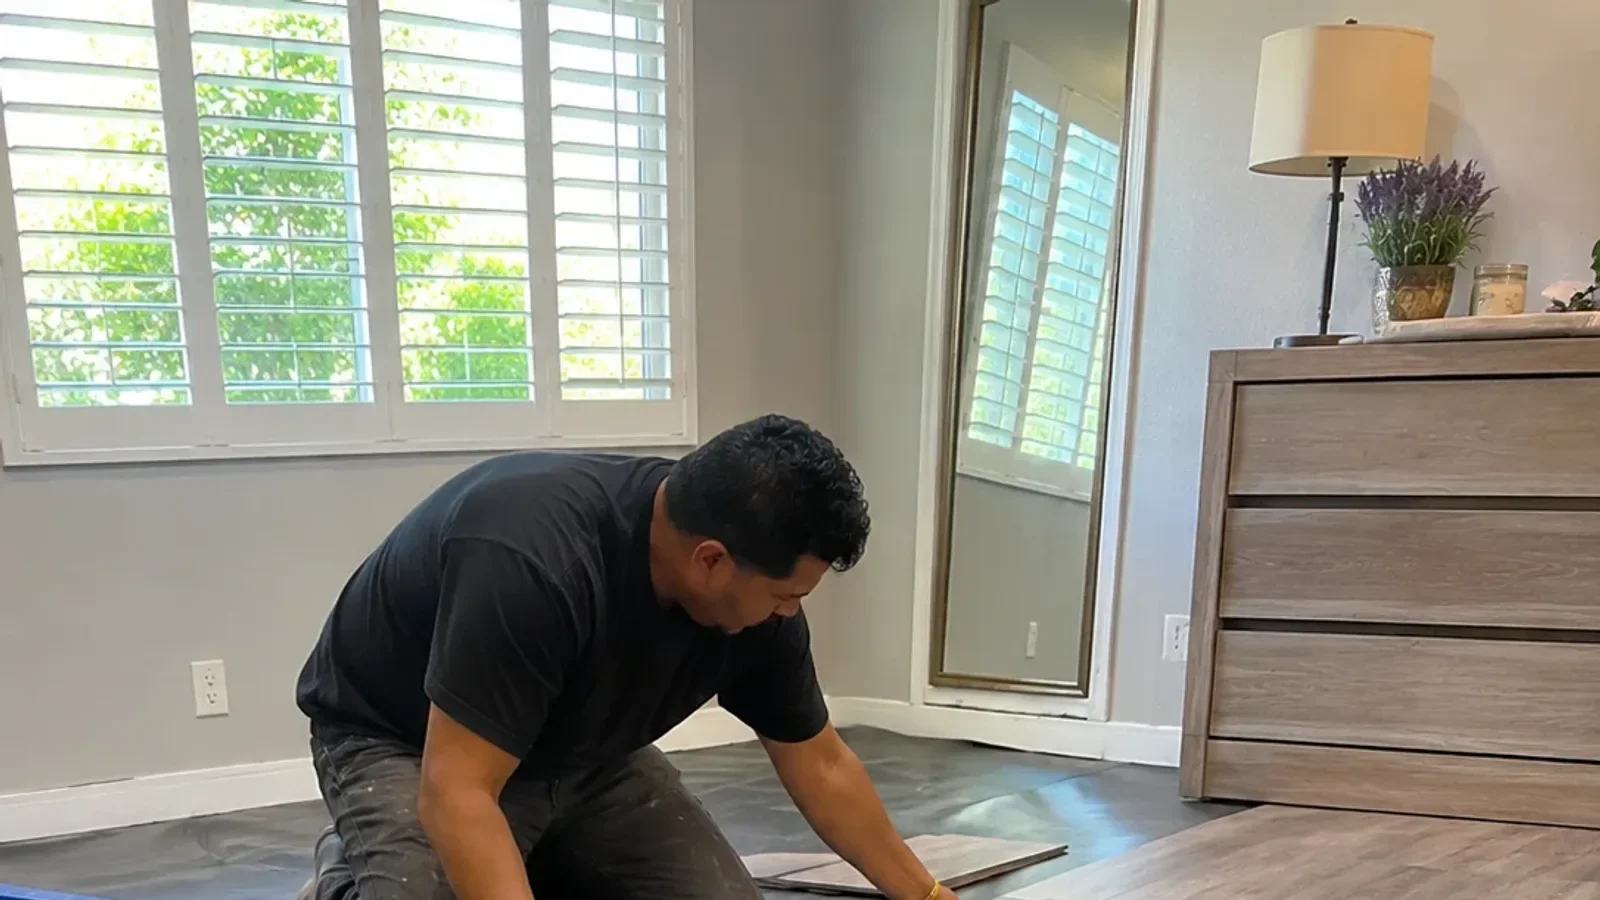
If you’re still in the planning stage, our guide to how a proper vinyl install is done in the Valley covers subfloor prep, transitions and acclimation. Everything below assumes the floor is already in.
Before you start
Gather these first. Most of it is probably already in your closet.
- A soft-bristle broom or a vacuum with the beater bar turned off (or a hard-floor setting)
- A microfiber dust mop and a microfiber wet mop pad
- A pH-neutral floor cleaner labeled safe for vinyl or LVP, or plain warm water
- Felt pads for furniture legs, plus a few spares
- A chair mat made for hard floors if you have a rolling desk chair
- Walk-off mats for exterior doors (look for non-staining, non-rubber backing)
- Your flooring’s care sheet or warranty paperwork, if you still have it
One thing to leave out: steam mops, abrasive pads, wax, and “mop and shine” products. More on why below.
Step 1: Read the care sheet for your specific product
Every vinyl line has its own wear layer, finish and warranty terms. Some manufacturers list approved cleaners by type, and some note that certain products can affect warranty coverage. Pull up the care guide for your exact product before changing your routine. If you bought from us and can’t find the paperwork, call the showroom and we’ll help you figure out what’s on your floor. It takes five minutes and can save real headaches later.
Step 2: Stop grit at the door
Dust and fine sand are the main reason vinyl dulls. Valley yards, dirt hillsides and dry summers mean a lot of fine grit rides in on shoes, and it acts like sandpaper on the wear layer. Put a walk-off mat outside each exterior door and a second one just inside. Shake or vacuum them often. A shoes-off habit helps even more.
- Choose mats with backing labeled safe for vinyl. Some rubber and latex backings can leave yellow stains on vinyl over time.
- Pay extra attention to the slider out to the backyard or pool. That’s where most grit enters.
Step 3: Dry-clean the floor every few days
Sweep or dust-mop high-traffic rooms several times a week, and the kitchen daily if it gets busy. Use a soft broom or a vacuum on its hard-floor setting. Spinning beater bars can scuff the surface and chip plank edges. After a windy stretch, when dust coats everything, give the whole house a pass. This is the single most useful habit on the list.
Step 4: Damp-mop with a neutral cleaner, not a wet one
Waterproof vinyl tolerates spills, but it doesn’t need to be flooded. Mist a pH-neutral cleaner or use a lightly damp microfiber pad, working with the direction of the planks. Wring the pad well. Puddles can work into seams and toward the perimeter, where they don’t help anything.
Skip these:
- Steam mops. Many vinyl makers advise against them because high heat and pressure can affect the surface and seams.
- Vinegar, ammonia or bleach in strong doses. They can dull the finish over time.
- Wax, polish or “shine” products. Vinyl has a factory finish. Added coatings build up into a cloudy film.
- Scouring pads. They leave permanent scratches.
If your floor already looks hazy, it’s often residue. A few passes with plain warm water and a clean pad usually lift it.
Step 5: Manage the sun on south- and west-facing rooms
This is where Valley homes differ from coastal ones. Afternoon sun through big sliders and picture windows can fade vinyl unevenly and heat the planks up. You’ll notice it when you move a rug and find a darker rectangle underneath. Close blinds or shades during the hottest part of the day in rooms that take direct western light. UV-filtering window film is another option worth asking a window professional about.
- Rotate area rugs and furniture now and then so color ages evenly.
- Don’t leave dark rugs in one fixed spot near a sunny window for years.
Heat is a separate concern from fading. We explain how the Valley’s temperature swings affect lower-quality planks in why Valley heat warps budget vinyl.
Step 6: Protect against dents and scratches from furniture
Vinyl is softer than tile. Heavy, narrow furniture legs can leave dents, and dragging a dining chair can gouge the wear layer. Put felt pads under every chair, table and sofa leg, and check them a few times a year. Felt collects grit and wears thin. Swap them when they look dirty or flattened.
- Use wide furniture cups under heavy pieces like pianos, bookcases and refrigerators.
- Lift furniture when you move it. Don’t slide it.
- Put a hard-floor chair mat under rolling office chairs. Hard casters wear a path fast.
Step 7: Handle spills and stains the right way
Wipe spills up promptly, even though the floor is waterproof. Standing liquid can still reach seams and edges, and some liquids stain. For most messes, a damp cloth and neutral cleaner do the job. For stubborn spots like ink or marker, check your care sheet first. Some makers allow a small amount of rubbing alcohol on a cloth, but test in a closet or under an appliance before you touch anything visible. Never scrape with a metal tool.
Pets are fine on vinyl. Keep nails trimmed and clean up accidents quickly.
Step 8: Keep an eye on edges, transitions and wet areas
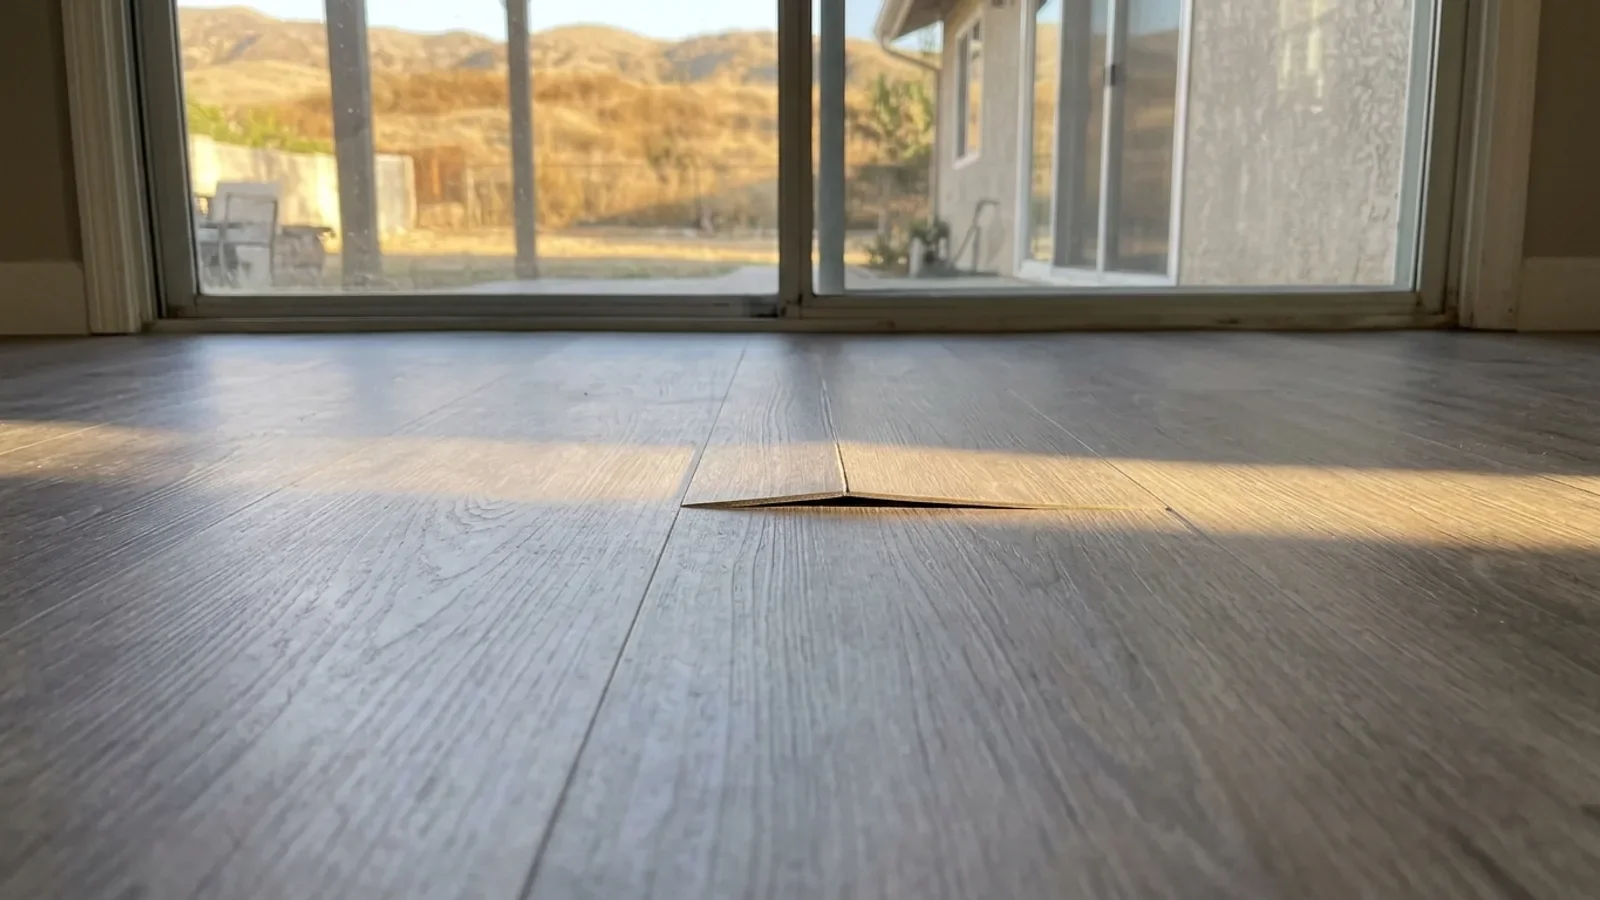
Twice a year, walk the floor slowly. Look at transition strips, baseboard edges, the area around the dishwasher, refrigerator line and toilets, and any spot near an exterior door. You’re looking for gaps opening between planks, edges lifting, or planks that feel soft or move underfoot. These usually point to something underneath (moisture, a subfloor issue, or furniture pinning a floating floor), not a cleaning problem.

Don’t try to pry up or reset planks yourself if something looks off. Make a note, take a photo, and call us. A loose transition strip is a small fix. Water from a slow appliance leak is a different conversation.
Why Valley homes are hard on vinyl floors
The San Fernando Valley runs hotter and drier than most of Los Angeles, and many homes here are single-story ranch houses from the postwar decades with slab-on-grade foundations and large glass doors to the yard. That combination matters for vinyl. Slabs stay cooler than the air in summer and can carry moisture up from below. Big west-facing glass bakes floors in the late afternoon. Santa Ana winds push fine dust through every gap in older door and window frames.
Fall is a good time to do a check-up. Late-season heat and wind events can still roll through the Valley in autumn, and the cooler nights that follow mean bigger daily swings indoors. Many homes also have a mix of older tract construction and newer additions, so the subfloor under one room may differ from the next. If your floor sits over concrete, our guide to preparing Canoga Park concrete slabs for vinyl explains why that layer matters so much over time.
None of this means vinyl is a poor fit here. It’s one of the most practical floors for Valley kitchens, laundry rooms and family rooms. It just rewards a little attention.
When to call a professional in the San Fernando Valley
Routine cleaning is a homeowner job. Some problems aren’t. Call a flooring professional when you notice:
- Planks separating, peaking or lifting at the seams
- Soft, spongy or hollow spots underfoot
- Moisture, musty smells, or discoloration that keeps coming back
- Damage from a dishwasher, water heater, or plumbing leak
- Deep gouges or burns that cut through the wear layer
- Transitions that have pulled loose or become a trip hazard
For plumbing leaks, have the source fixed by a licensed plumber first. Then we can look at the floor. Damaged planks can often be replaced individually, which is one good reason to keep a box of leftover planks from your install.
When a room is past repair, our team handles replacing worn vinyl with a new waterproof floor, and our showroom in Canoga Park carries vinyl, laminate, hardwood and carpet so you can compare options in person. If you’re weighing who should do the work, we put together what to ask vinyl installers in the Valley to help you sort it out.
Frequently Asked Questions
Can I use a steam mop on waterproof vinyl?
Most vinyl manufacturers advise against steam mops because heat and pressure can affect the surface and seams. Check your product’s care guide, and use a damp microfiber mop with a neutral cleaner instead.
How often should I mop vinyl floors in the Valley?
Dry-clean several times a week and damp-mop roughly weekly in busy rooms, more often in kitchens. After dusty windy days, a quick sweep before mopping keeps grit from scratching the finish.
Will sun fade my luxury vinyl plank?
Strong, direct sun can fade or shift the color of vinyl over time, especially near west-facing windows. Shades during the afternoon and rotating rugs help keep the color more even.
Why does my vinyl floor look cloudy after cleaning?
Cloudiness is often residue from too much cleaner, oil soaps, or shine products. Mopping with plain warm water and a clean microfiber pad usually removes it.
Can a damaged vinyl plank be replaced?
Often, yes. Many floating vinyl floors allow single planks to be swapped, which is easier if you saved extra planks from your original install.
The short version
Keep grit out, clean gently, shade the sun, pad the furniture, and look at your edges twice a year. That’s most of it. Vinyl holds up well in Valley homes when it’s treated this way.
If you have questions about your floor, or you’re planning another room, stop by IDN Hardwood and Carpet Superstore in Canoga Park. We’re happy to look at photos, talk through care for your specific product, or walk you through our vinyl flooring installation process for your next project.