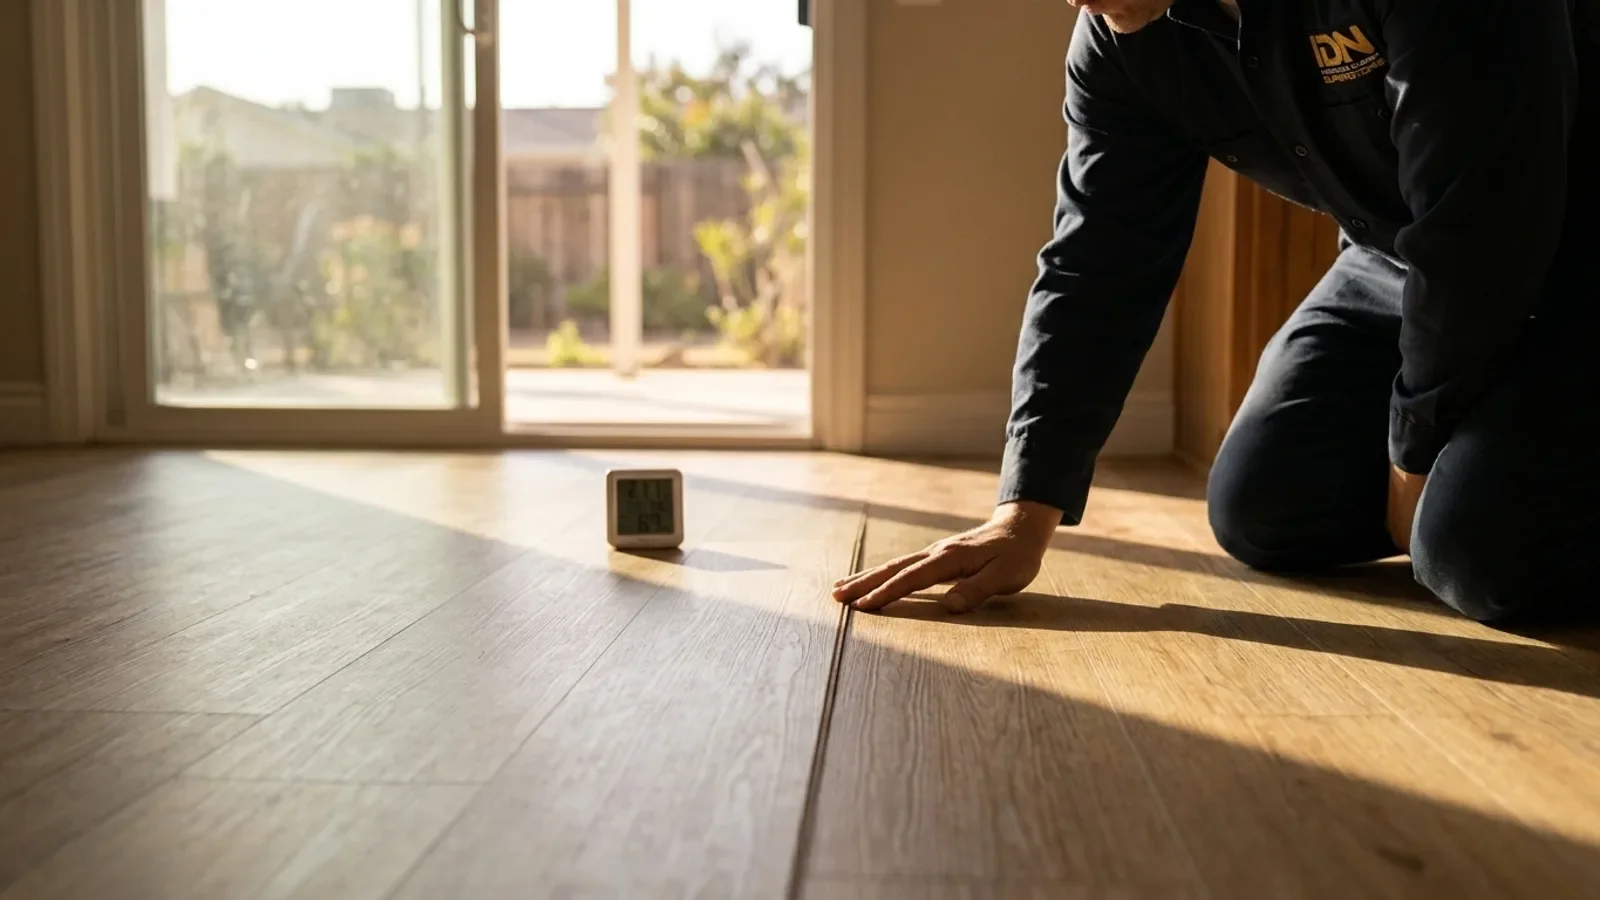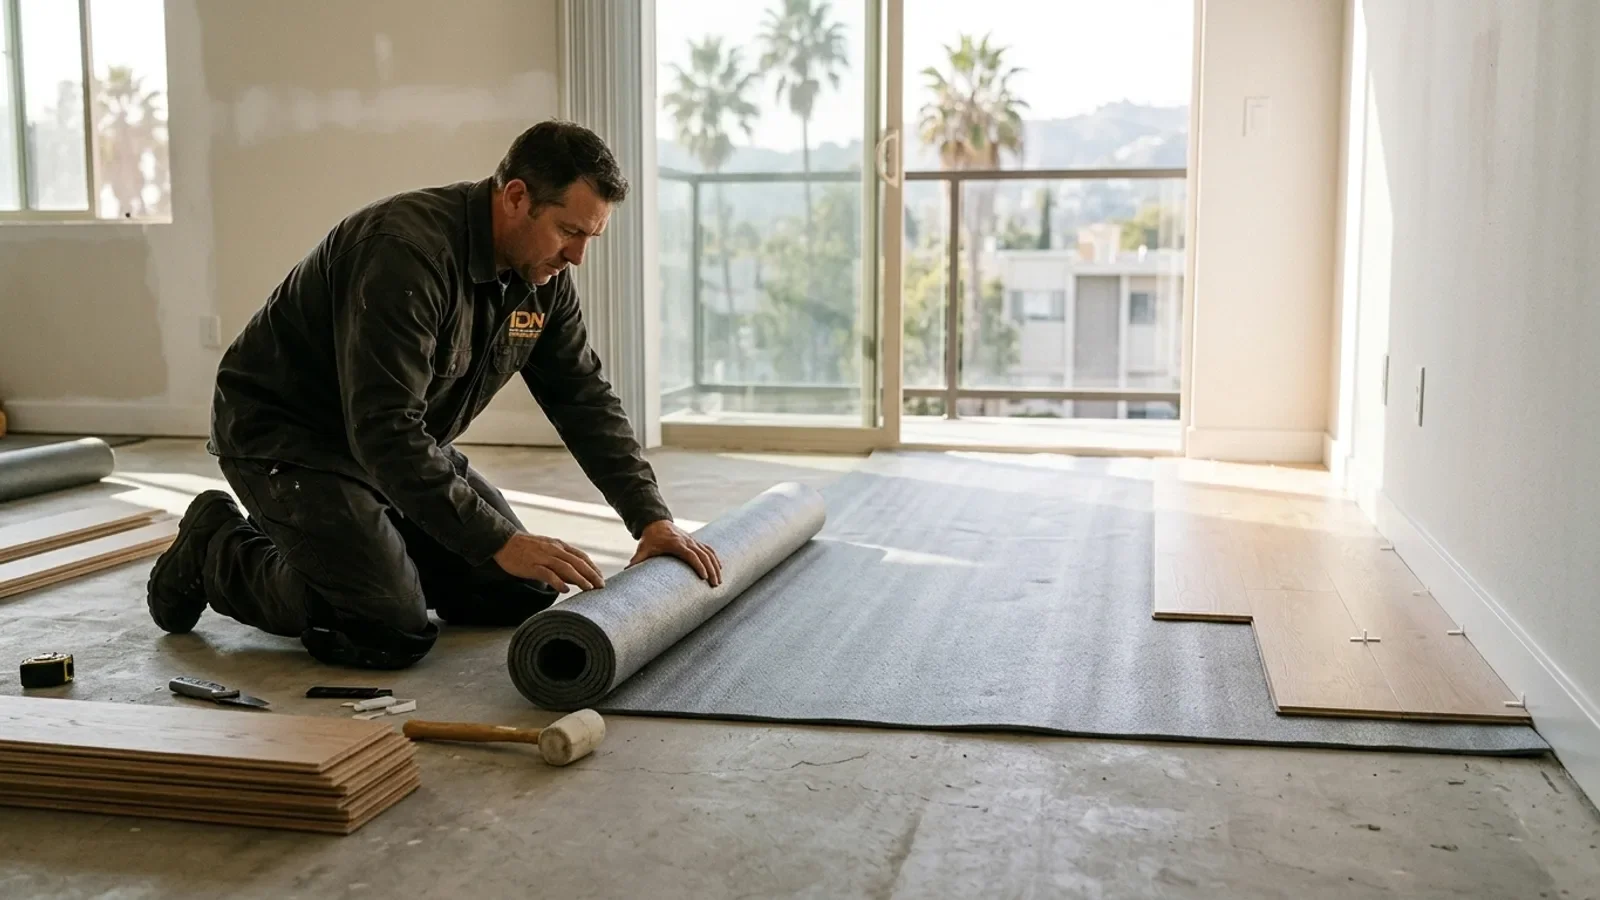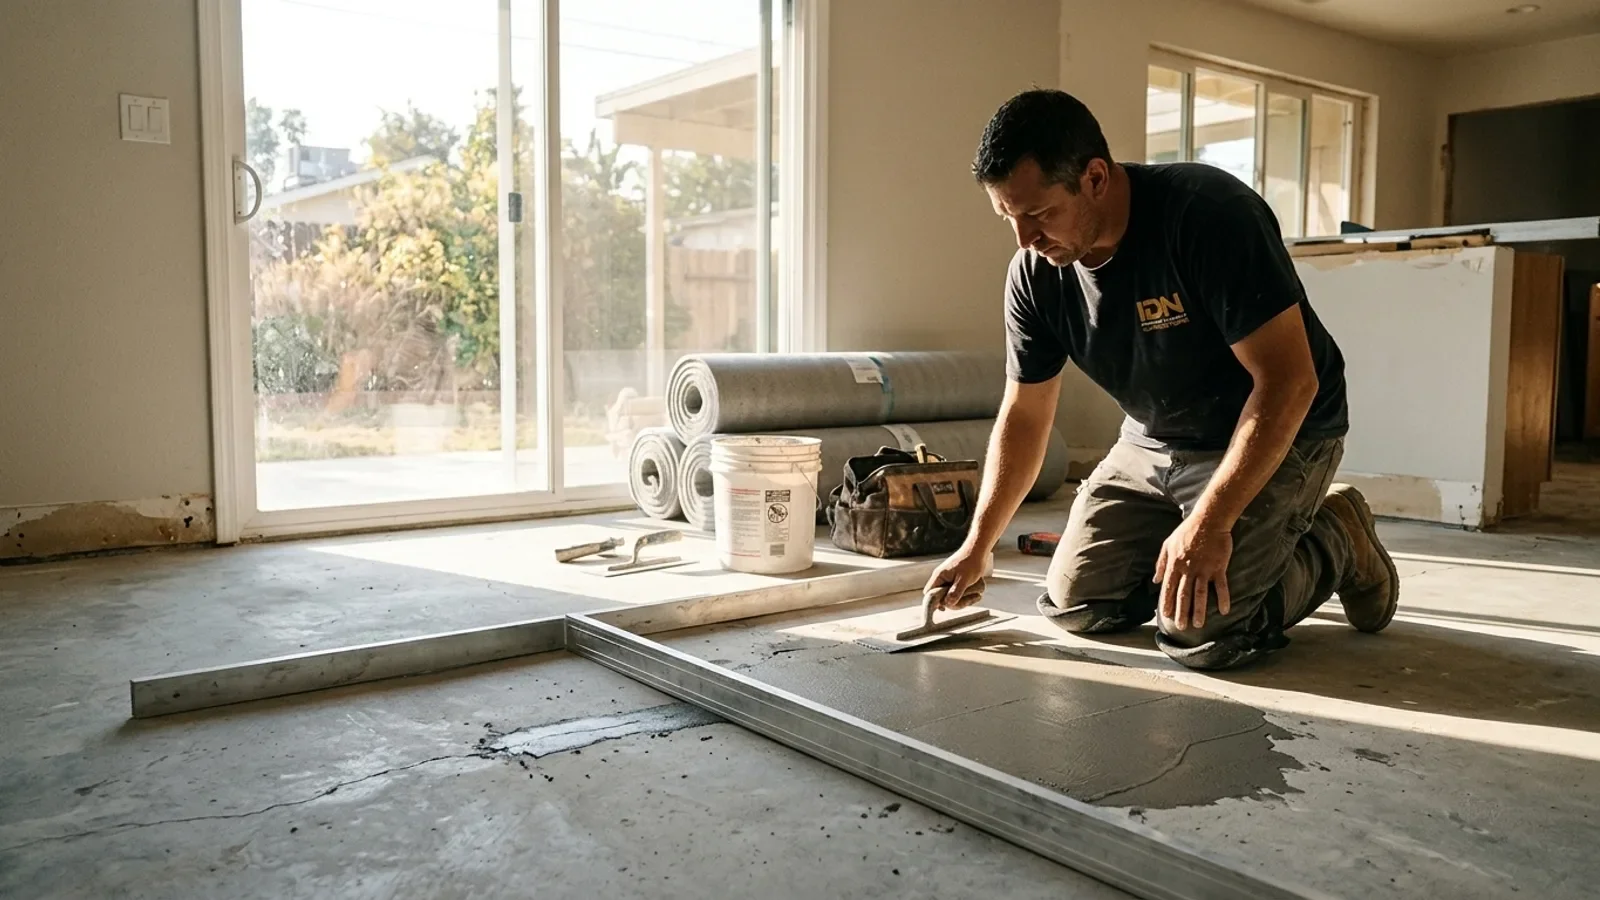
To meet condo floor soundproofing rules in Los Angeles, you confirm your HOA’s required sound ratings (usually IIC and STC minimums), choose an underlayment tested to meet them over your building’s subfloor, document it, and get written approval before installation. It takes seven steps, and most of them happen before anyone pulls up the old floor.
Skip those steps and the trouble shows up later. The floor goes in, it looks great, and then the neighbor below starts hearing every footstep, dropped spoon and rolling chair. A complaint goes to the board. In many Los Angeles and San Fernando Valley associations, that can lead to a demand to remove the floor and redo it with the right underlayment. You pay twice, and you live with a strained relationship with the people under you. The steps below are how we help condo owners avoid that.
Before you start
Gather these before you shop for flooring. Having them on hand keeps the approval process moving.
- Your HOA’s CC&Rs, bylaws and any separate architectural or flooring rules (ask the management company if you can’t find them).
- The board’s flooring change application form, if one exists.
- Your unit number, floor level, and whether there’s a unit directly below you.
- A rough room-by-room measurement of the areas you plan to change.
- Any notes on the existing floor and what’s under it (carpet and pad, tile, old laminate).
- Your preferred flooring type, so the underlayment can be matched to it.
Step 1: Find the exact sound clause in your HOA documents
Locate the written rule that governs hard flooring in your building before you choose a product. Flooring rules often live in the CC&Rs, but newer boards sometimes adopt a separate architectural guideline that’s easier to miss. Look for language about “hard surface flooring,” “sound transmission,” “impact insulation,” or a specific approved product list. Some associations simply require board approval with no numbers listed. Others spell out minimum ratings and a testing standard. Write down the exact wording. It matters.
- Note whether the rule applies to all rooms or only living areas over another unit.
- Check whether carpet removal itself requires approval.
- Look for any required waiting period or neighbor notice.
Step 2: Learn what IIC and STC actually measure
Understand the two ratings so you can read a spec sheet correctly. IIC (Impact Insulation Class) measures how well a floor-ceiling assembly reduces impact noise, like footsteps and dropped objects. STC (Sound Transmission Class) measures airborne sound, like voices and a TV. For a laminate floor in a condo, IIC is usually the number that causes disputes, because a floating floor transmits footfall into the slab. Higher numbers mean better performance on both scales.
Here’s the catch. Ratings describe a tested assembly, not just the pad. An underlayment tested over a thick concrete slab with a finished ceiling below may score very differently over a thinner slab or a wood-framed floor. You can read the background on these metrics from the ASTM International standards body, which publishes the test methods the industry uses.
Step 3: Check whether your rule uses lab or field ratings
Determine if your HOA wants laboratory numbers or a field-tested result. Lab ratings (IIC and STC) come from controlled test chambers. Field ratings, often written as FIIC or FSTC, are measured in an actual building and usually come in lower. If your bylaws require a field-tested result, a manufacturer’s lab number may not satisfy the board on its own. Some associations even require a post-installation test. If the wording is unclear, ask the management company in writing which they expect. Get the answer by email.
Step 4: Identify your building’s subfloor
Figure out what you’re installing over, because it changes which underlayment will hit the target. Much of the Valley’s condo stock falls into two camps, and the difference is real.
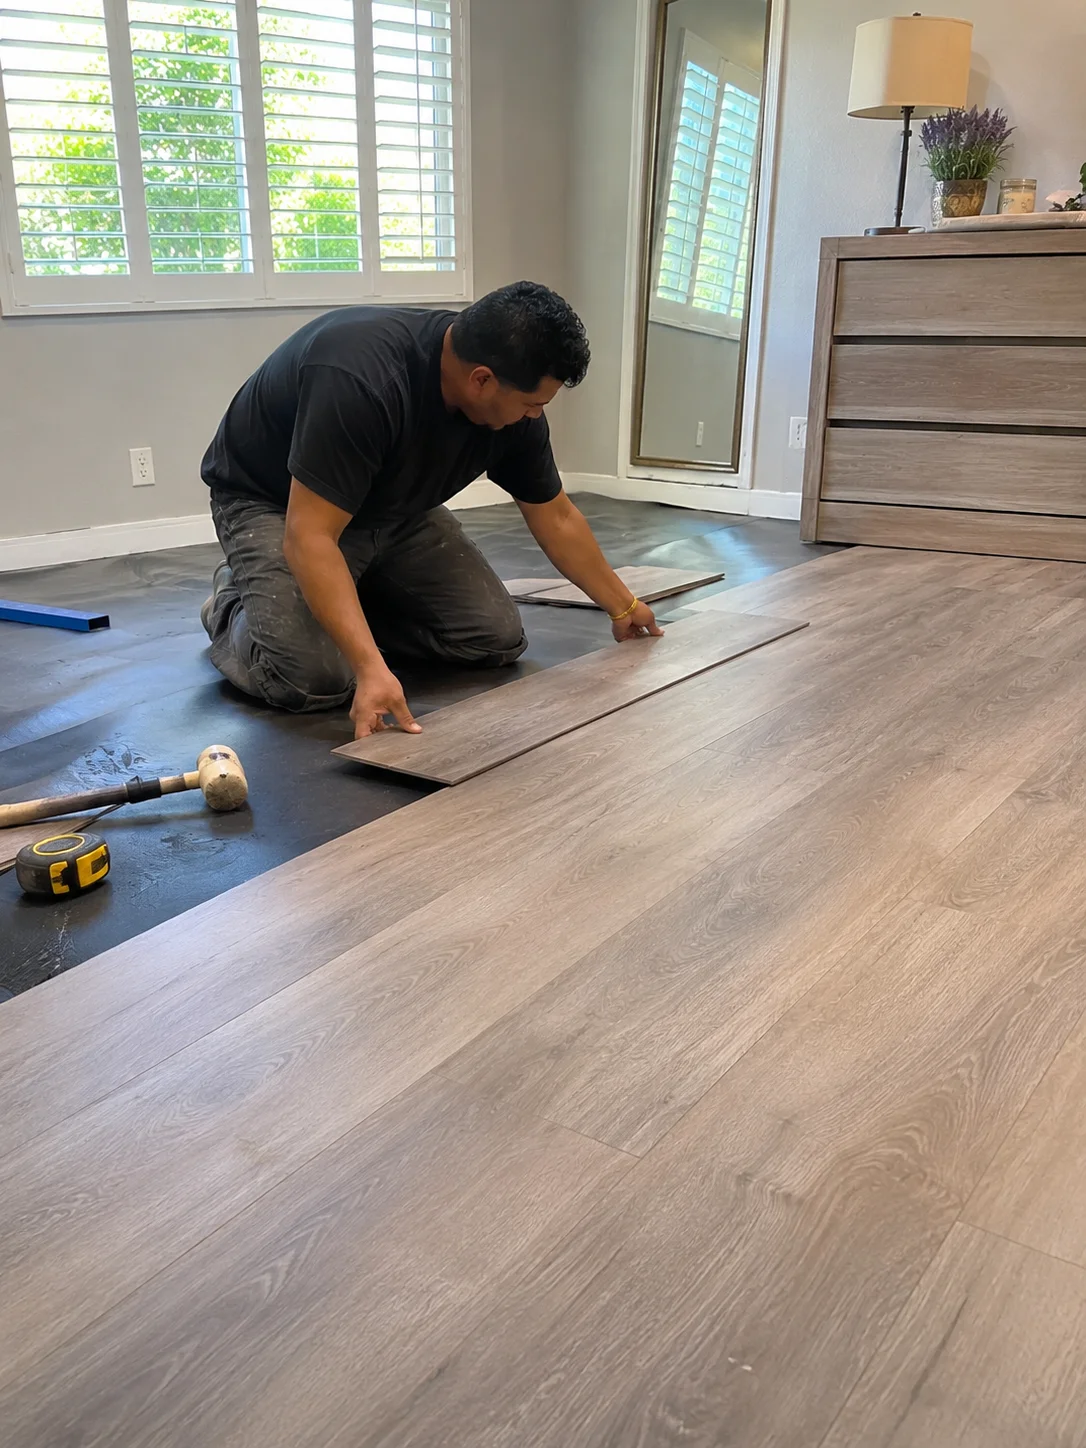
Many mid-rise and podium buildings from Warner Center to Sherman Oaks sit on concrete decks. Concrete handles airborne sound fairly well but passes impact noise straight down without the right pad. The slab also brings moisture into the conversation, which is why we cover testing concrete for moisture before laminate goes down in a separate guide. Many older garden-style complexes from the 1960s through 1980s are wood-framed, with plywood or particleboard over joists. Those assemblies tend to be more challenging for impact noise and may need a thicker or denser acoustic layer.
Why Valley condos make this tricky
The San Fernando Valley has a large stock of 1970s and 1980s condos and townhomes that were built with wall-to-wall carpet over pad as the default. That carpet was doing much of the acoustic work. Pull it out and install a floating laminate, and the floor-ceiling assembly changes completely. Neighbors below who never heard a footstep suddenly hear plenty. Add in buildings that have been through seismic retrofits and decades of patched subfloors, and flatness becomes another issue: a wavy subfloor can create hollow spots that click and amplify sound. Our guide to spotting an uneven subfloor in a Valley home walks through what to look for. Dry Valley air also means laminate needs proper acclimation, so plan a little extra time.
Step 5: Choose an underlayment tested for your assembly
Select an underlayment whose published test data matches your subfloor type and meets the HOA minimum. Ask for the actual acoustic test report, not just a marketing claim on the box. Check that the tested assembly resembles yours: slab thickness, ceiling type below, and the flooring tested on top. Laminate-specific acoustic pads often include an attached vapor barrier for slab installs. If your laminate already has an attached pad, confirm whether the manufacturer allows a second layer, since stacking pads can void warranties and cause joint failure.
This is where product choice and install method meet. Our main page on choosing laminate flooring underlayment for San Fernando Valley homes goes deeper into pad types, density and how they feel underfoot. Don’t guess here.
Step 6: Submit a complete approval package to your board
Send the board everything it needs to say yes on the first review. Incomplete applications are the most common reason approvals stall. A strong package typically includes:
- The completed HOA flooring application form.
- The product spec sheets for both the laminate and the underlayment.
- The acoustic test report showing IIC and STC results.
- A floor plan marking which rooms will change.
- Your installer’s license and insurance details, if the HOA requests them.
- Any perimeter isolation details (more on that in Step 7).
Keep copies of everything. Wait for written approval before work starts.
Step 7: Install with sound isolation details, not just the pad
Make sure the install itself preserves the acoustic rating. A rated underlayment can underperform if the floor touches the walls. Laminate needs an expansion gap at the perimeter, and in condo work that gap also keeps footfall from traveling into the drywall and framing. Baseboards should sit slightly above the floor surface, not pressed down onto it. Transitions, door jambs and pipe penetrations need the same care. Seams in the underlayment should be taped per the manufacturer’s instructions, and any vapor barrier must overlap correctly on slabs. These are small details. They add up.

When we handle laminate installs in Los Angeles condos, we plan these isolation details from the start so the finished floor behaves like the assembly the board approved.
When to call a professional in Los Angeles
Some of this is paperwork you can handle yourself. Some of it isn’t. Bring in a flooring pro when:
- Your HOA requires field-tested ratings or a post-install sound test.
- You’re on a wood-framed floor above another unit and need a higher-performing pad.
- The subfloor dips, humps or squeaks once the carpet is up.
- You’re installing over a slab and haven’t checked moisture levels.
- A neighbor has already complained about noise from an existing floor.
Rules and enforcement vary from one association to the next, so treat this guide as a starting point and confirm specifics with your board and a licensed professional. If budget is part of the decision, our breakdown of what shapes a laminate quote in the Valley explains how acoustic pads and subfloor prep factor in.
Frequently Asked Questions
What IIC rating do Los Angeles condo HOAs usually require?
It depends entirely on the association, so check your CC&Rs. Many boards set a minimum IIC and STC rating for hard flooring, and some specify field-tested results, which are harder to meet than lab numbers.
Can I install laminate in my condo without HOA approval?
If your governing documents require approval for flooring changes, installing without it can expose you to a removal demand or fines. Get written approval before any work begins.
Does the underlayment alone determine the sound rating?
No. Ratings come from a full tested assembly, including the slab or joists, the ceiling below, the pad and the flooring. Perimeter gaps and installation quality also affect real-world results.
Is laminate a good choice for upper-floor condos?
It can be, when it’s paired with a tested acoustic underlayment and installed with proper isolation. Our laminate installation guide for Los Angeles homes covers how we match pads to each subfloor.
Will an acoustic pad change how I care for the floor?
Not much, though avoiding standing water still matters with any floating floor. See our tips on looking after a floating laminate floor.
The short version
Read the rule, match the pad to your building, document everything and install with isolation in mind. That sequence keeps your board happy and your downstairs neighbor comfortable. If you’re planning laminate in a Los Angeles or San Fernando Valley condo, visit our Canoga Park showroom or reach out to IDN Hardwood and Carpet Superstore. We’ll help you sort out what your HOA is asking for and which underlayment fits your floor.